The Windows 11 Media Creation Tool is an official Microsoft program for creating Windows 11 installation media. It can download Windows files and prepare a bootable USB drive for installing, upgrading, repairing, or reinstalling Windows. It is useful when your current Windows system has problems or when you want a fresh installation. The safest choice is always to download the tool directly from Microsoft, because unofficial copies may be outdated or unsafe.
What Is the Windows 11 Media Creation Tool?
The Windows 11 Media Creation Tool is a free utility provided by Microsoft. Its main purpose is to create official Windows 11 installation media. The program downloads the required installation files from Microsoft servers and prepares them so they can be used on a compatible computer. It is especially useful for users who want a simple way to prepare Windows without manually managing installation files.
Installation media can be used for several purposes. You can upgrade a working computer, reinstall Windows after system problems, perform a clean installation, or prepare a USB for another compatible PC. Microsoft also allows users to access recovery tools through Windows installation media when a computer cannot start normally.
Where to Download It Safely
The safest place to get the Windows 11 Media Creation Tool is Microsoft’s official Windows 11 download website. On the page, find the section called Create Windows 11 Installation Media and select Download Now. Microsoft downloads a file named MediaCreationTool.exe, which can then be opened on a Windows computer.
Avoid downloading the program from unknown websites, file-sharing services, or pages that offer modified Windows installers. A third-party file may contain unwanted software or an old version. You should also avoid cracked Windows images. Using Microsoft’s original file gives you a safer installation source and helps reduce problems caused by changed system files.
Windows 11 System Requirements
Creating installation media does not mean that every computer can run Windows 11. Your PC should meet Microsoft’s hardware requirements. Important requirements include a compatible 64-bit processor, at least 4 GB RAM, at least 64 GB storage, UEFI firmware, Secure Boot capability, and TPM 2.0. Your graphics hardware and display must also support the required Windows standards.
Before installation, it is a good idea to check whether the computer supports Windows 11. Microsoft’s PC Health Check app can help users find compatibility problems. A PC may have enough memory and storage but still fail because of an unsupported processor, disabled TPM, or firmware setting. Checking first can save time and prevent installation trouble.
What You Need Before Creating Installation Media
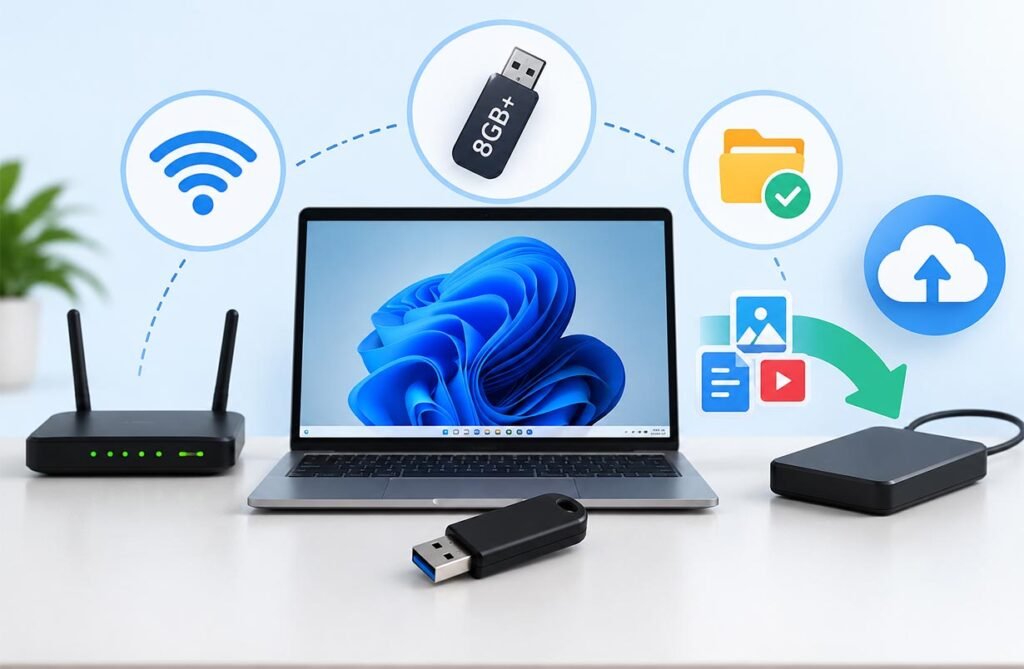
Before using the Windows 11 Media Creation Tool, prepare a working computer with a stable internet connection. Microsoft also recommends a blank USB flash drive with at least 8 GB of space. Any existing files on the USB can be deleted when installation media is created, so copy important data somewhere else before starting.
You should also back up important files on the computer where Windows will be installed. Save photos, videos, work documents, browser data, and other important files to cloud storage or an external drive. If your device uses BitLocker encryption, make sure you can access its recovery key before changing major system or boot settings.
How to Create a Bootable Windows 11 USB
After downloading the official program, open MediaCreationTool.exe and allow it to make changes to the computer. You may need administrator permission. Read and accept Microsoft’s licence terms, then follow the instructions shown on the screen. Connect your blank USB drive and make sure you select the correct device before continuing.
The Windows 11 Media Creation Tool will download the required files and write them to the selected USB drive. The process can take some time depending on your internet speed and USB performance. Do not remove the flash drive while files are being downloaded or copied. Once the process finishes, the USB becomes Windows installation media that can be used on a compatible PC.
How to Install or Reinstall Windows 11
If Windows still works, connect the installation USB and open it through File Explorer. Run setup.exe to begin Windows Setup. Microsoft may allow you to keep your personal files and apps, keep personal files only, or keep nothing. The options available depend on the type of installation you choose.
For a clean installation, start the computer directly from the USB drive. You may need to open your PC’s boot menu or change its boot order. Be careful with this method because a clean installation can remove personal files, apps, Windows settings, and manufacturer customizations. Always make a complete backup before choosing this option.
Media Creation Tool vs ISO and Installation Assistant
Microsoft offers more than one way to install Windows. The Media Creation Tool is a practical choice when you need a bootable USB. A Windows ISO file is better for users who want a disk image for virtual machines, DVDs, or advanced installation tasks. Microsoft provides ISO creation and download options as part of its Windows installation methods.
The Windows 11 Installation Assistant is mainly designed for upgrading the computer you are currently using. Installation media is more flexible because it can be saved and used later. For most users who need to reinstall Windows or prepare another PC, a bootable USB is usually the easier choice.
Common Problems and Simple Fixes
Sometimes the Windows 11 Media Creation Tool may fail because of a weak internet connection, limited storage space, USB problems, or missing administrator rights. If the download stops, restart the program and check your internet connection. Also make sure your computer has enough free storage for temporary Windows installation files.
If the USB does not appear, reconnect it or try another USB port. If Windows Setup does not open after restarting the computer, the PC may not be configured to boot from USB. Microsoft recommends checking the computer manufacturer’s instructions to learn how to open the boot menu or change the boot order.
Safety Tips to Prevent Data Loss
Always download Windows files from Microsoft, use a reliable USB drive, and back up your personal data. Keep a laptop connected to power during the installation and avoid turning the computer off while Windows is copying important files. You should also confirm whether your existing system uses Windows 11 Home or Pro before reinstalling it.
A 25-character product key may sometimes be needed, but many computers use a digital licence or have a product key stored in firmware. Microsoft says matching embedded licence information can be applied automatically during installation. Using the same Windows edition that was previously activated also helps make reactivation easier.
FAQs
Is the Windows 11 installation tool free?
Yes. Microsoft provides the installation utility free of charge. However, you still need a valid Windows licence for activation.
How large should the USB drive be?
Microsoft recommends a blank USB flash drive with at least 8 GB of storage. Existing data on it may be erased.
Can I reinstall Windows without losing my files?
Yes. When setup is started from inside Windows, you may have an option to keep personal files and apps. Always create a backup first.
Can I use one bootable USB on another computer?
Yes, installation media can be used on another compatible PC. The other computer must still meet Windows 11 requirements and have the correct licence.
What happens during a clean installation?
A clean install creates a fresh Windows system and can remove files, apps, settings, and manufacturer customizations, so backup is important.